

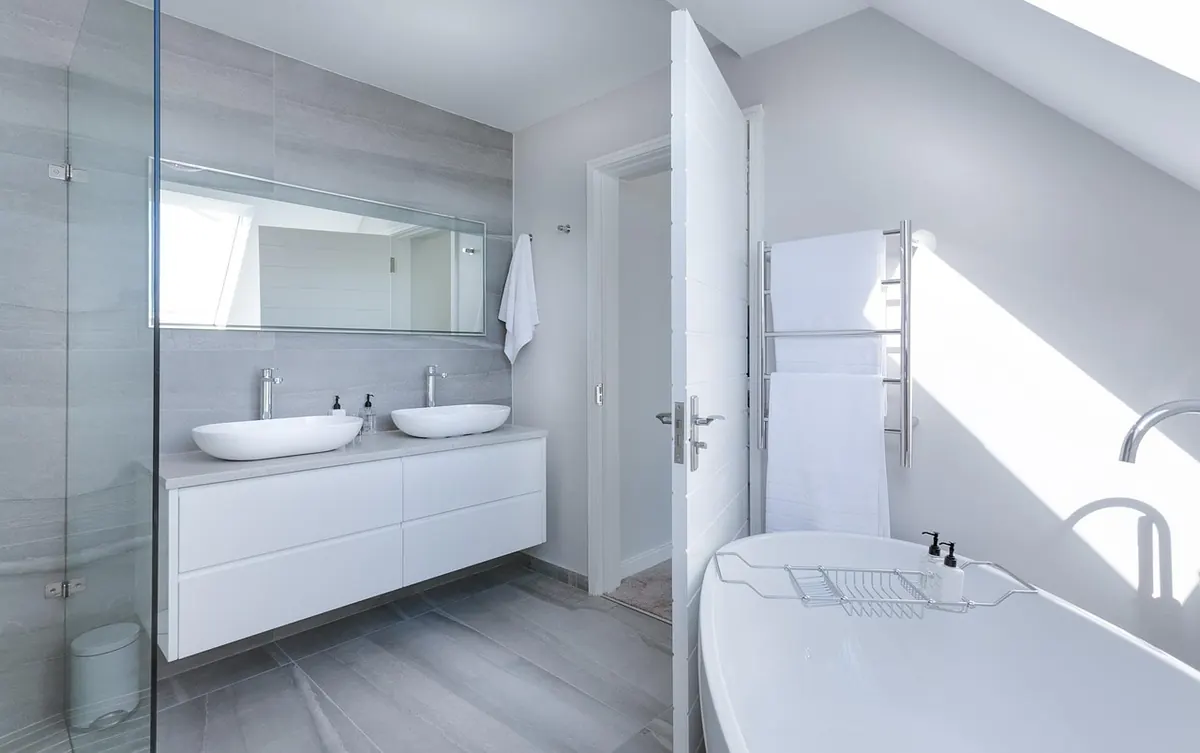



Floating shelves do a lot of quiet work. They replace a bulky bookcase in a narrow hallway, hold the plants that would otherwise crowd a windowsill, and make a small bathroom feel finished. The appeal is simple: nothing shows. No brackets, no uprights, just a clean slab against the wall. That is also the risk. Everything you set on the shelf travels through hardware you cannot see, and most of that hardware passes through half an inch of drywall. Get the studs, the anchors, and the level right, and the job takes an afternoon. Rush any one of them and you will be patching holes by the weekend.
Start With the Shelf and Its Hardware
Floating shelves are not all built the same way, and the mounting method decides how much weight you can safely add. Most kits fall into one of three groups:
- Sliding bracket or rod. A metal frame bolts to the wall, and the hollow shelf slides over it. The most common design, and the strongest when the frame hits studs. Small set screws underneath lock the shelf in place.
- Cleat system. An interlocking rail goes on the wall and on the back edge of the shelf. Faster to hang, easier to remove, and generally rated for lighter loads.
- Concealed rod. A single heavy rod or small bracket, usually for narrow shelves used for display rather than storage.
Read the weight rating on the packaging before you buy, then read it again with a skeptical eye. Those numbers assume the hardware is mounted into solid framing, not just drywall. A 36-inch shelf and a 60-inch shelf also behave differently: the longer one acts like a lever, so weight placed at the far end pulls much harder on the nearest screw. If you plan to store hardcover books or heavy pottery, choose a shorter shelf or one with three mounting points instead of two.
Find the Studs Before You Drill Anything
This is the step people skip, and it is the one that decides whether your shelf holds a vase or a stack of cookbooks. A stud finder will locate the framing, but mark both edges of each stud and then the center — you want the center, because the edges are where drywall screws sit and where the wood is least reliable.
In most homes, studs run vertically and sit 16 or 24 inches apart, though older buildings can be irregular. Confirm each mark with a thin finish nail or a small drill bit in a spot that will be hidden by the shelf. If the wall feels hollow everywhere, you may have metal framing or a furred-out wall; in that case, use the anchors described below and keep the load light.
Two warnings. First, outlet and switch boxes mean wiring runs up, down, or sideways nearby — keep your drill clear of them. Second, on shared or interior walls, a pipe can run horizontally where you least expect it. If a bit suddenly pushes through into open space with no resistance, stop and investigate before going further. When you are unsure what is behind the drywall, it is worth calling an electrician or plumber rather than guessing.
Plan Height and Spacing on Paper First
Decide the layout before the first hole. For shelves you look at rather than reach for, eye level is a comfortable target. For shelves you use daily — spices, mugs, toiletries — keep them within easy reach and leave clearance for the tallest item plus a few inches. Above a desk, check that a monitor or lamp will not collide with the underside.
For multiple shelves, cut a scrap of wood to your desired gap and use it as a spacer between rows. It sounds fussy; it is the fastest way to get evenly spaced shelves that look deliberate. Tape the shelf outlines on the wall with painter's tape and live with them for a day. The tape also catches drywall dust when you drill.
Anchoring: Studs First, Drywall Second
When the bracket lines up with studs
Use the fasteners that came with the kit, or lag bolts sized for the bracket holes. Predrill pilot holes slightly narrower than the bolt so the wood does not split. This is the strongest possible installation and the one the weight rating assumes.
When it does not
Bracket holes rarely land perfectly on stud centers. You have three decent options: shift the shelf a few inches so at least one side hits a stud, add a painted backer board that spans two studs and mount the bracket to that, or use drywall anchors for the remaining holes with the understanding that the shelf is now a light-duty shelf.
Choosing drywall anchors
Toggle bolts — the kind with a metal bar or strap that flips open behind the wall — spread the load over a much larger area than a plastic plug and are the better choice when there is no stud. Self-drilling anchors work for light loads. Basic plastic sleeve anchors are fine for a picture frame; they are not what you want holding a shelf that will be loaded and unloaded every week.
Hang heavy items directly over a stud or over the bracket's anchor points. The middle of a long shelf is the strongest place for a heavy vase and the worst place for a row of books.
Mark, Drill, and Level Once
Leveling is where a good installation turns into a permanent eyesore. A shelf that is a quarter inch off will look wrong from across the room, and you will notice it every single day. Work in this order:
- Draw a horizontal line where the top of the shelf will sit, using a level long enough to span the full width. Extend it past both ends so you have room to work.
- Hold the bracket against the line, check level again with the bracket in place, and mark every hole with a pencil or an awl.
- Drill pilot holes at the marked points. Keep the bit straight and let the drill do the work instead of leaning on it.
- Vacuum the dust out of the holes so the anchors seat fully.
- Fasten the bracket, then set a level on top of the bracket frame, not just on your pencil line. A bowed wall can make a level line look straight while the bracket tilts.
- Check front-to-back as well. The shelf should not droop toward the room.
If your wall is visibly bowed, shim behind the bracket at the low spots so the frame does not twist when you tighten the bolts.
Slide It On, Load It Gradually
Slide the shelf over the bracket and tighten the set screws underneath by hand until they bite. Overtightening can crack a veneer or dent a metal frame. Then load it in stages: a few light items first, a day of normal use, then the heavier objects. Distribute weight along the length rather than stacking everything in one spot, and keep the heaviest pieces near the mounting points. After a week, check the shelf for sag and give the set screws a quarter turn if anything has loosened.
A Shelf You Stop Noticing
The best floating shelf disappears into the room, and it stays that way because the work happened behind the drywall. Anchor into studs wherever you can, use toggle bolts where you cannot, and take the extra two minutes to check level with the bracket actually in place. If you are mounting into a wall you do not own, patch-and-paint is easy, but asking first is easier. Keep the leftover anchors and screws in a small bag taped inside the shelf — you will want them the next time you hang something.
Photo: peter_pyw / Pixabay